Flying V Construction
Step by step instructions are given below. These instructions assume you have purchased (or cut) the wing cores and have some Zagi building experience.
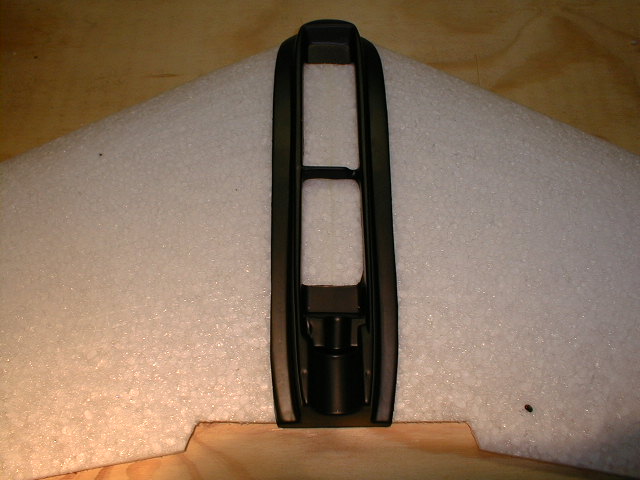
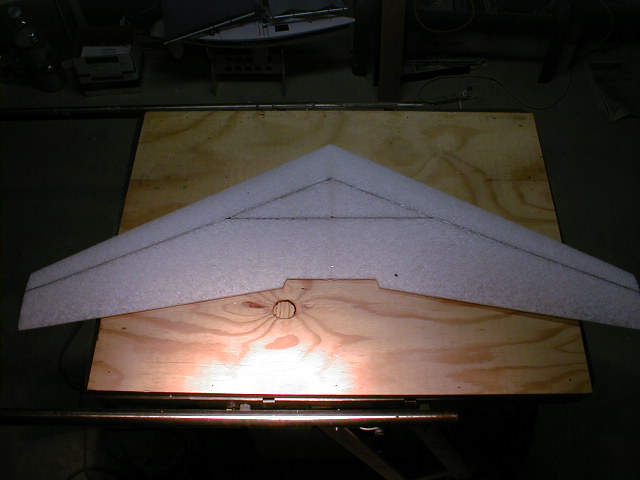
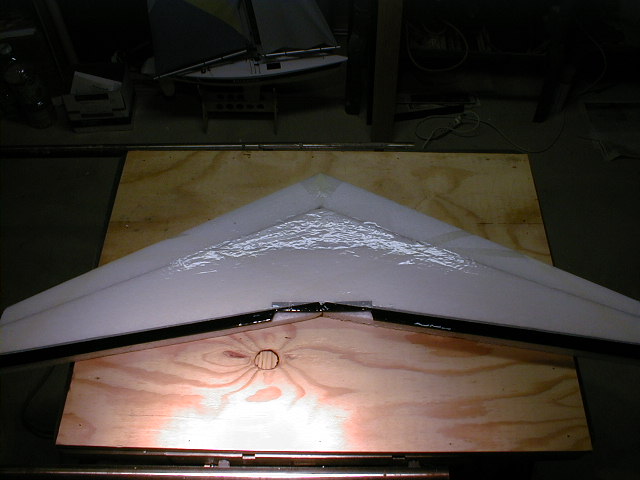
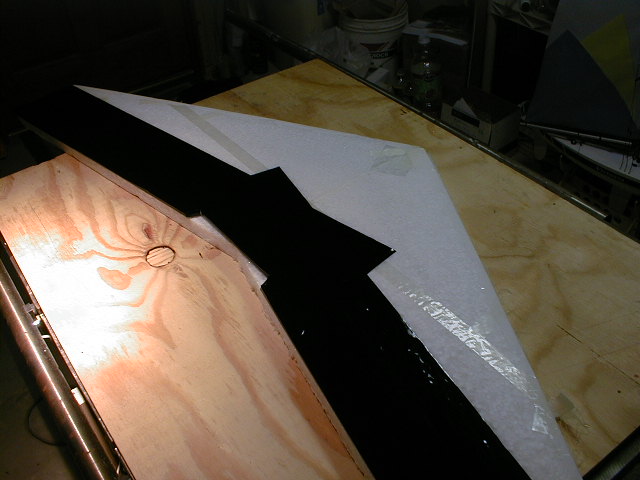
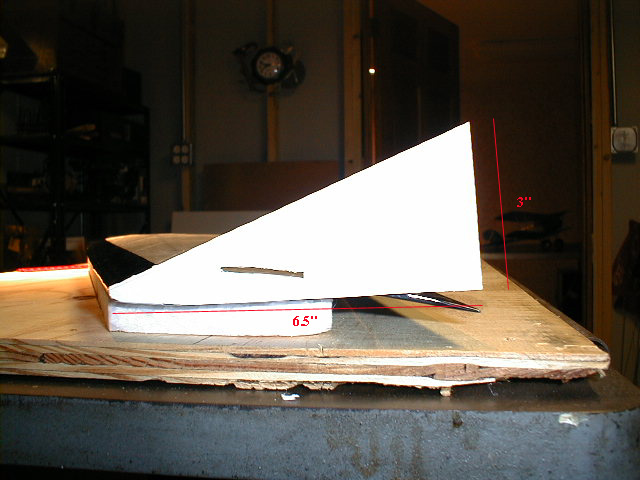
Remove any EPP fuzz from the cores by lightly sanding with a block of EPP. Tape the bottom beds together. Epoxy the wing cores together using the bottom beds as an alignment jig. Cut the bottom out of the Zagi canopy as shown (trim the inside sides) and test the fit (do not mount yet). Cut a 6" section out of the TE as shown for prop clearance.
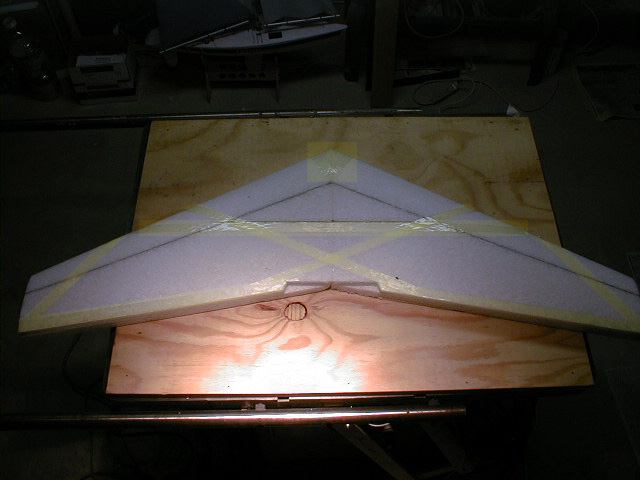
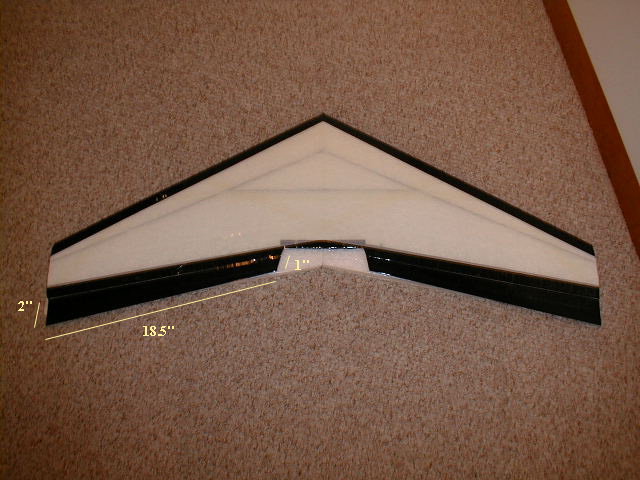
Cut grooves for spars as shown. Spanwise spars are 23" long, 4" from nose, and 1-5/8" from LE at tip. Center spar is 15" long and 7" from nose. Spars can be aluminum (3/8" wide, 1/16" thick), wood, or carbon fiber. Epoxy in the spars (one at a time) and add weights to make sure the wing sits "true". Continue to use bottom beds to prevent unwanted twists. Make sure the joints are epoxied. The picture shows aluminum spars.
Spray cores lightly with 3M Super 77 spray adhesive. Wait at least 1/2 hour. Add 3/4" fiber tape as shown (fiber tape areas are highlighted). Add a strip of fiber tape along the CG (perpendicular to the root chord) on the bottom of the wing.
Using packing tape, start taping at the TE (fold over). Then work towards the nose, overlapping the tape by 1/4". Cut the tape so that the length goes from the tip to 3" past the middle. Stop at the LE.
Repeat the taping procedure for the bottom. Tape the LE (wrap around the LE).
Cut elevons from 1/8" balsa to the dimensions shown . Taper the elevons using a sanding block and spray lightly with 3M 77 spray glue. Cover the elevons with packing tape and hinge them to the TE of the wing. Make sure they pivot easily.
Cut winglets from 2mm Coroplast to the dimensions shown. Lightening holes may be cut in the winglets to reduce weight (not shown). Test fit the winglets to the wings and mark the winglet at the top of the airfoil. Cut a 1.5" rectangular hole in the winglet at the mark. Tape the winglets to the wing tips -- use 1 piece of tape through the hole and 1 piece at the LE.
Cut pockets into the foam for the servos. Make the pockets slightly smaller than the servos to insure a tight fit. Also, try to keep the servos forward (about 1" from the LE) to insure proper CG balance. Cut slots for the servo wires as shown. Press fit the servos into the sockets and attach the contol horns to the elevons. Attach the control rods as shown. Cover the servos with packing tape.

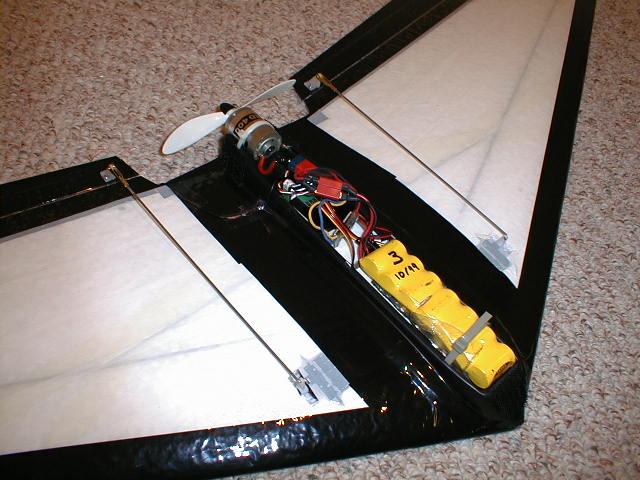
Before taping the battery tray down, here are a few optional modifications: 1. Glue a small piece of sandpaper onto the bottom of the motor mount. 2. Add a tie wrap (battery holder) to the front of the battery tray as shown. 3. Cut the plastic separater out and glue in an aluminum U support as shown (this allows better fit for 8 cell batteries). Mount the motor using a tie wrap, reverse a prop, and push the prop onto the motor shaft. Guide the servo wires under the battery tray and back towards where the receiver will be placed. Make sure the battery tray is aligned in the middle of the wing and tape it down using packing tape. Add a piece of velcro to help hold the battery.
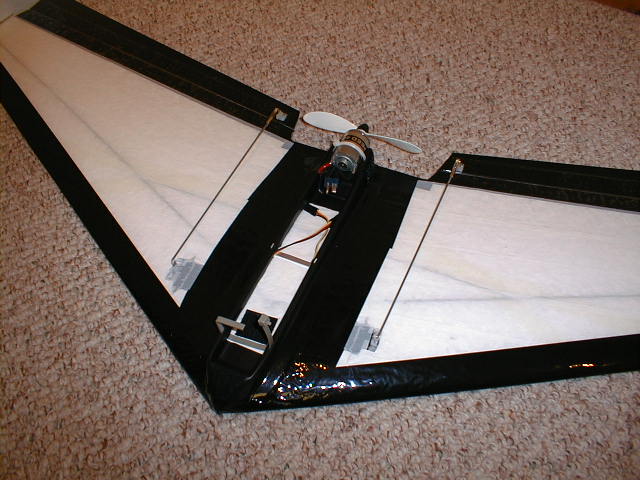
Add the receiver, speed controller (follow the directions and add diode & connectors as needed), and battery. Tape the receiver and speed controller to the battery tray. Tape the receiver antennae to the bottom of the wing. Add velcro canopy holders to the battery tray and canopy.